
Optimizing Laser Cutter Settings for Different Materials
OPTIMIZING LASER SETTINGS FOR DIFFERENT MATERIALS
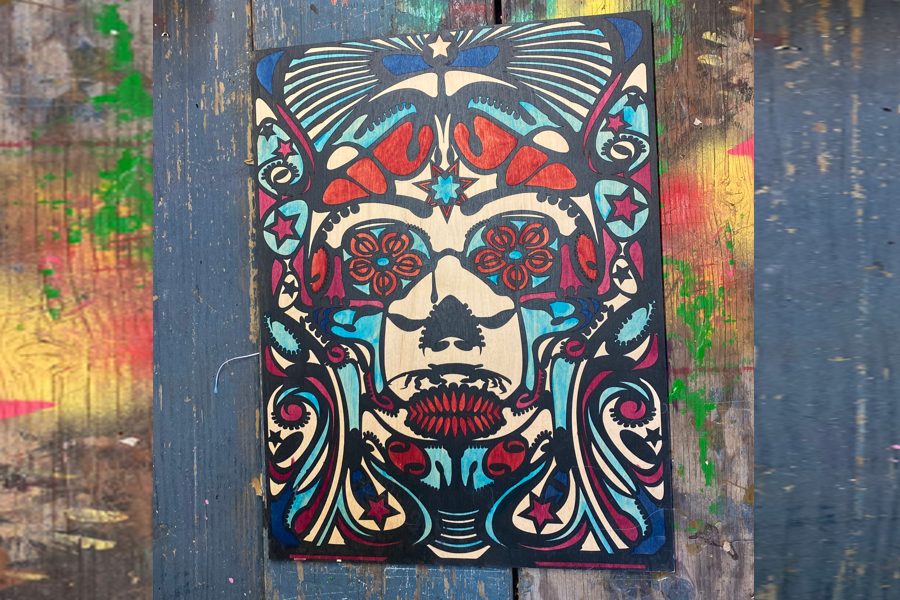
Dia de los Muertos skull laser cut and painted wood
join our subreddit https://www.reddit.com/r/lasereducation/
When it comes to laser cutting, achieving the best results requires careful optimization of the laser cutter settings. Different materials respond differently to laser cutting and engraving, and fine-tuning these settings can significantly impact the quality of your cuts and engravings. In this comprehensive guide, we'll delve into how to adjust laser cutter settings for various materials, ensuring you get the best possible results every time. These are general guidelines and may vary from laser to laser as there are factors that will affect the exact settings. I have based this blog on a 100 watt laser cutter as a reference to help you find setting for your machine and the materials you are going to use.
Understanding Laser Cutter Settings
Before diving into specific materials, it's essential to understand the primary settings you'll be adjusting:
- Power: The strength of the laser beam. Higher power cuts deeper but can also cause burning or melting if not controlled. Laser cutting and engraving is a heat application and understanding how much heat is being applied is very helpful to overall laser cutting and engraving.
- Speed: The rate at which the laser head moves. Faster speeds result in less exposure time and shallower cuts. Speed is usually expressed in mm/sec on most machines I have used. I suggest buying some extra material and experiment with different speeds and powers to help you understand this process.
- Frequency: The number of laser pulses per second. Adjusting frequency affects the smoothness and finish of the cut. adjusting the frequency of the pulses will go a long way when trying to get a really clean engraving.
- Focus: The distance between the laser head and the material. Proper focus ensures precise cuts and reduces the risk of damage to the material. Getting the focus point to hit on the face of the material will provide the best results in cutting and engraving.
General Tips for Optimizing Laser Cutter Settings
- Test Cuts: Always perform test cuts on scrap pieces of the material before starting your final project. This helps fine-tune the settings without risking your primary material.
- Material-Specific Guidelines: Refer to manufacturer guidelines for recommended settings for different materials.
- Cooling and Ventilation: Ensure adequate cooling and ventilation to prevent overheating and remove fumes generated during cutting.
- Maintenance: Regularly clean and maintain your laser cutter to ensure consistent performance.
Optimizing Settings for Common Materials
Acrylic https://amzn.to/4cQqKvJ
Acrylic is a popular material for laser cutting due to its versatility and clean finish. Here's how to optimize settings for cutting acrylic:
- Power: 40-60% for 3mm acrylic, adjust accordingly for thicker sheets. I have found that I stay on the lower end of these power setting when cutting.
- Speed: 8-12 mm/sec for clean cuts without melting. I usually stay on the higher speeds for this. 42% 12mm/sec is my primary setting for 3mm acrylic using my 100 watt laser
- Frequency: 5000 Hz for smooth edges.
- Focus: Adjust to ensure the laser is sharply focused on the material surface. Make sure you do the focus test on your laser to determine your exact focus length.
Tips:
- Apply a low-tack masking tape to prevent scorch marks. I use this type of laser cutter transfer paper: https://amzn.to/4cAAXfY
- Use a honeycomb bed to reduce back reflections and achieve cleaner cuts.
Here is a table with different types of acrylic, their typical thickness, and suggested laser cutter power and speed settings:
| Acrylic Type | Thickness (mm) | Laser Cutter Power (%) | Laser Cutter Speed (mm/sec) |
|---|---|---|---|
| Clear Acrylic | 3 mm | 50-60% | 20-25 |
| Clear Acrylic | 6 mm | 60-70% | 10-15 |
| Clear Acrylic | 10 mm | 70-80% | 5-10 |
Wood https://amzn.to/4cwAiMM
Wood is another commonly used material, but it varies greatly in hardness and density, which affects cutting settings. I have included a link to birch wood as I usually laser cut that type of wood.
There are lots of types of wood
- Power: 60-80% depending on the thickness and type of wood.
- Speed: 10-20 mm/sec, slower speeds for harder woods.
- Frequency: 1000-3000 Hz, lower frequencies for darker engravings.
- Focus: Adjust focus height for deeper cuts or engravings.
Tips:
- Sand the surface before cutting for a smoother finish.
- Use air assist to blow away debris and prevent charring.
power and speed settings:
| Wood Type | Hardness (Janka Rating) | Laser Cutter Power (%) | Laser Cutter Speed (mm/sec) |
|---|---|---|---|
| Balsa | 100 | 30-40% | 25-35 |
| Pine | 380 | 40-50% | 20-30 |
| Birch | 1260 | 50-60% | 15-25 |
| Cherry | 950 | 50-60% | 15-20 |
| Maple | 1450 | 60-70% | 10-20 |
| Oak | 1360 | 60-70% | 10-20 |
| Walnut | 1010 | 50-60% | 15-25 |
| Mahogany | 800 | 50-60% | 15-20 |
| MDF | 1200 | 60-70% | 15-25 |
| Plywood | Varies | 60-70% | 15-25 |
Leather https://amzn.to/3Wgc9V2
Cutting leather requires precision to avoid burning or charring:
- Power: 30-50% to prevent burning.
- Speed: 20-30 mm/sec for clean edges.
- Frequency: 500-1000 Hz for detailed work.
- Focus: Slightly defocused for thicker cuts to avoid edge burns.
Tips: https://amzn.to/3XVJiq0
- Use masking tape to protect the surface from smoke residue. https://amzn.to/4cQGtec
- Ventilate well to remove the smell of burnt leather.
Here is a table with different types of leather, their typical thickness, and suggested laser cutter power and speed settings:
| Leather Type | Thickness (mm) | Laser Cutter Power (%) | Laser Cutter Speed (mm/sec) |
|---|---|---|---|
| Thin Leather | 1 mm | 15-25% | 30-40 |
| Thin Leather | 2 mm | 20-30% | 25-35 |
| Medium Leather | 3 mm | 25-35% | 20-30 |
| Medium Leather | 4 mm | 30-40% | 15-25 |
| Thick Leather | 5 mm | 35-45% | 10-20 |
| Thick Leather | 6 mm | 40-50% | 10-15 |
| Thick Leather | 8 mm | 45-55% | 5-10 |
Fabric
Laser cutting fabric allows for intricate designs without fraying:
- Power: 20-30% for most fabrics, higher for thicker materials.
- Speed: 30-50 mm/sec for clean cuts.
- Frequency: 1000-1500 Hz for smooth edges.
- Focus: Properly focused to avoid scorching the edges.
Tips:
- Test different settings for synthetic vs. natural fabrics.
- Ensure the fabric is flat and taut on the bed to avoid uneven cuts.
Here is a table with different types of fabric, their typical thickness, and suggested laser cutter power and speed settings:
| Fabric Type | Thickness (mm) | Laser Cutter Power (%) | Laser Cutter Speed (mm/sec) |
|---|---|---|---|
| Cotton | 0.5 mm | 20-30% | 40-60 |
| Polyester | 0.5 mm | 15-25% | 50-70 |
| Silk | 0.2 mm | 10-20% | 60-80 |
| Denim | 1.5 mm | 30-40% | 20-30 |
| Felt | 3 mm | 25-35% | 25-35 |
| Fleece | 2 mm | 20-30% | 30-40 |
| Nylon | 0.3 mm | 15-25% | 50-70 |
| Wool | 1 mm | 25-35% | 25-35 |
| Lace | 0.5 mm | 10-20% | 60-80 |
| Organza | 0.3 mm | 10-20% | 60-80 |
Conclusion
Optimizing laser cutter settings for different materials is crucial for achieving precise and high-quality results. By understanding the specific requirements of each material, including power, speed, frequency, and focus, you can fine-tune your laser cutter to perform at its best. Whether you're working with wood, acrylic, leather, fabric, or glass, always perform test cuts, ensure proper ventilation, and maintain your equipment regularly. This attention to detail not only enhances the quality of your projects but also prolongs the lifespan of your laser cutter. With the right settings and techniques, you can unlock the full potential of your laser cutting machine, producing professional-grade cuts and engravings every time. Happy laser cutting!


