The Ultimate Guide to the Color Fill Laser Cut Process: Creating Multi-Color Laser Art
THE ULTIMATE GUIDE TO THE COLOR FILL LASER CUT PROCESS: CREATING STUNNING MULTI-COLOR LASER PROJECTS

Are you ready to take your laser cutting projects to the next level? The color fill laser cut process offers endless creative possibilities, allowing you to produce intricate designs with vibrant colors. Whether you're a seasoned laser cutter or a beginner, this step-by-step guide will walk you through the entire process, from creating vector files to enjoying your finished product.
What is the Color Fill Laser Cut Process?
The color fill laser cut process is a versatile technique that allows you to add one or more colors to your laser-cut designs. By carefully setting up your vector files and using the right materials and tools, you can create stunning, multi-colored projects. The key to success lies in the preparation and execution of the vector files, ensuring precision and quality throughout.
Step-by-Step Guide to the Color Fill Laser Cut Process
Step 1: Create Vector Files
The foundation of any laser cut project is a well-designed vector file. For this guide, we're creating a desktop box for miscellaneous items. I used Inkscape to design the vector files for this simple yet functional box. If you're new to vector design, Inkscape is a free and user-friendly software that’s perfect for beginners. You can download the PDF file for this project here. https://wellingtonjr.io/product/color-fill-box/
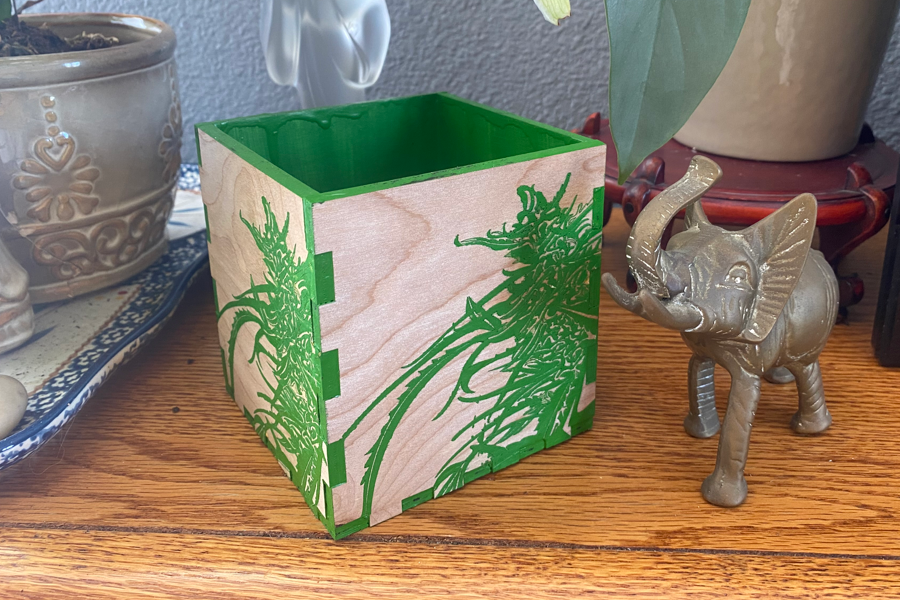
420 Wood Box made with the color fill laser process
Step 2: Materials Preparation
Choosing the right material is crucial for a successful color fill project. Birch wood is an excellent choice due to its medium hardness and light color, which absorbs wood dyes beautifully. Start by sanding the wood with a light grit sandpaper to ensure a smooth surface. Next, clean the surface to remove any dust and cover it with laser tape. This tape protects the wood during the cutting and painting processes. You could find the transfer laser tape to use on your project here: https://amzn.to/4cq9I7Q
Step 3: Laser Cutting
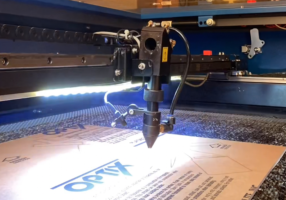
With your vector file ready and your material prepared, it's time to set up your laser cutter. In this project, the vector file uses two colors: red for cutting and purple for scoring. I use LightBurn software to manage these settings. The red lines cut through the material completely at 42% power and 12 mm/sec, while the purple lines score the material lightly at 15% power and 33 mm/sec. Scoring helps to cut through the laser tape without damaging the wood underneath. You could download the files I used for this project if you would like to try this project here https://wellingtonjr.io/product/color-fill-box/
Step 4: Weeding Out the Score
Once the laser cutting is complete, it's time to weed out the scored areas of the laser tape. This step involves removing the tape from the sections where you want to apply color. For this box, I used green paint, so I removed the tape from all the areas that will be green. If you're working with multiple colors, remove the tape for one color at a time to ensure precise application.
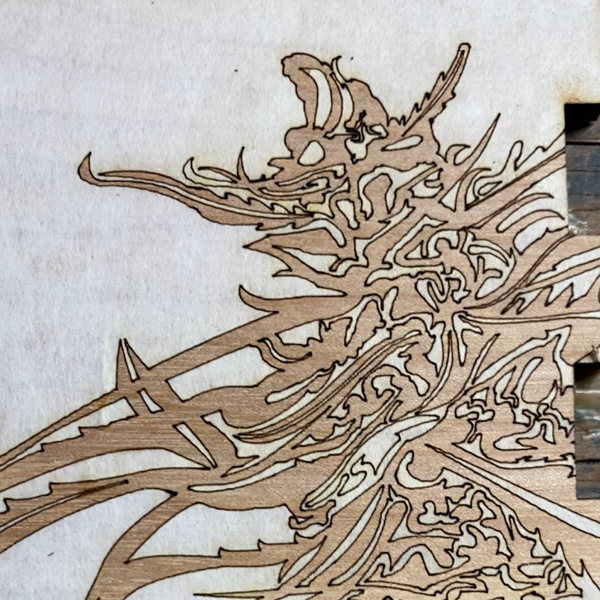
COLOR FILL PROCESS PICTURE SHOWING THE REMOVED TAPE AFTER LASER CUTTING
Step 5: Glue the Box
After weeding, it's time to assemble the box. I use a ketchup bottle filled with wood glue to apply the adhesive precisely where it's needed. This method allows for easy and clean application. Once the box is assembled, let the glue dry completely before moving on to the next step.
Step 6: Paint the Box
With the glue dry, it's time to add color to your project. Generously apply paint to the exposed areas of the wood. There's no need to be overly careful, as the laser tape will block out the paint, protecting the areas you don't want colored. Let the paint dry for several hours to ensure a solid, even finish.
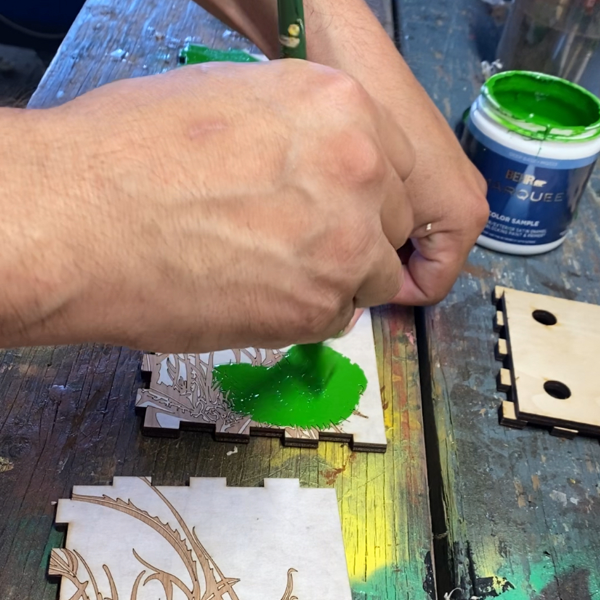
PAINTING COLOR FILL LASER CUT WOOD BOX
Step 7: Remove the Laser Tape
Once the paint is completely dry, carefully remove the remaining laser tape. This step requires patience, as you want to avoid scratching or damaging the paint. Take your time to gently weed out the tape, revealing the beautifully colored sections of your design.
Step 8: Clear Coat
To protect your project and give it a professional finish, apply a clear matte spray coat to the outside of the box. Ensure you spray in a well-ventilated area to avoid inhaling fumes. The clear coat will protect the wood and the painted areas from wear and tear, preserving your work for years to come.
Step 9: Enjoy Your Creation
Congratulations! You've completed your color fill laser cut project. Whether it's a decorative box, a custom sign, or any other creation, take a moment to admire your handiwork. The color fill process not only enhances the visual appeal of your projects but also adds a personal touch that sets your work apart.
Conclusion
The color fill laser cut process is an exciting way to add depth and vibrancy to your laser-cut designs. By following these steps, you can create stunning, multi-colored projects that showcase your creativity and precision. Remember, the key to success lies in careful preparation and execution at each stage. Happy crafting!
For more laser cutting tips and tutorials, be sure to subscribe to our blog and follow us on social media. Share your color fill projects with us using the hashtag #wellingtonJR
We can’t wait to see what you create!

